

Install
Install the CLI, set up your credentials, and launch your first agent. Prefer a native window? Add the desktop app.
Requirements
- Python 3.12+
- Node.js 22 LTS and npm
- tmux
Install Omnigent
The base install covers everyday use. Extra integrations are opt-in at install time. Run the same command to upgrade an existing installation.
curl -fsSL https://omnigent.ai/install.sh | sh

# install an optional integration
curl -fsSL https://omnigent.ai/install.sh | sh -s -- --extra databricks,modal
Available extras:
| Category | Extras |
|---|---|
| Model providers | databricks, bedrock, vertex |
| Sandbox providers | modal, daytona, blaxel, boxlite, cwsandbox, e2b, openshell, kubernetes |
| SDK harnesses | antigravity, copilot, cursor, agents-sdk |
| Storage and memory | postgres, s3, hindsight |
Homebrew source builds behind a mirror
The Homebrew tap installs a prebuilt bottle by default. If you build from source on a network that requires internal package mirrors, point the build at them with two optional environment variables:
HOMEBREW_PIP_INDEX_URL='https://pypi.example.com/simple' \
HOMEBREW_CARGO_INDEX_URL='https://cargo.example.com/index/' \
brew install --build-from-source omnigent-ai/tap/omnigentHOMEBREW_PIP_INDEX_URLroutes pip through your mirror, including pip's isolated build dependencies.HOMEBREW_CARGO_INDEX_URLtakes a sparse registry index URL ending in/, without thesparse+prefix.
Both overrides are optional and do not affect prebuilt-bottle installs. Replace the example URLs with your own mirrors.
Set up credentials
The wizard detects credentials in your environment and prompts for any that are missing. See Models & Credentials for the full reference.
omni setup
Launch Debby
Try your install with Debby, a built-in multi-AI agent that sends every question to both Claude and GPT and lets them debate.
omni debby
This launches a web UI and prints the server URL and port. Ask something
like What came first, the chicken or the egg? and watch the models
challenge each other. See the Debby reference
for more.
Install the desktop app
The desktop app gives you the full UI in a native window, and adds OS features a browser can't, like notifications and a dock badge.
Download for Apple siliconDownload for Intel
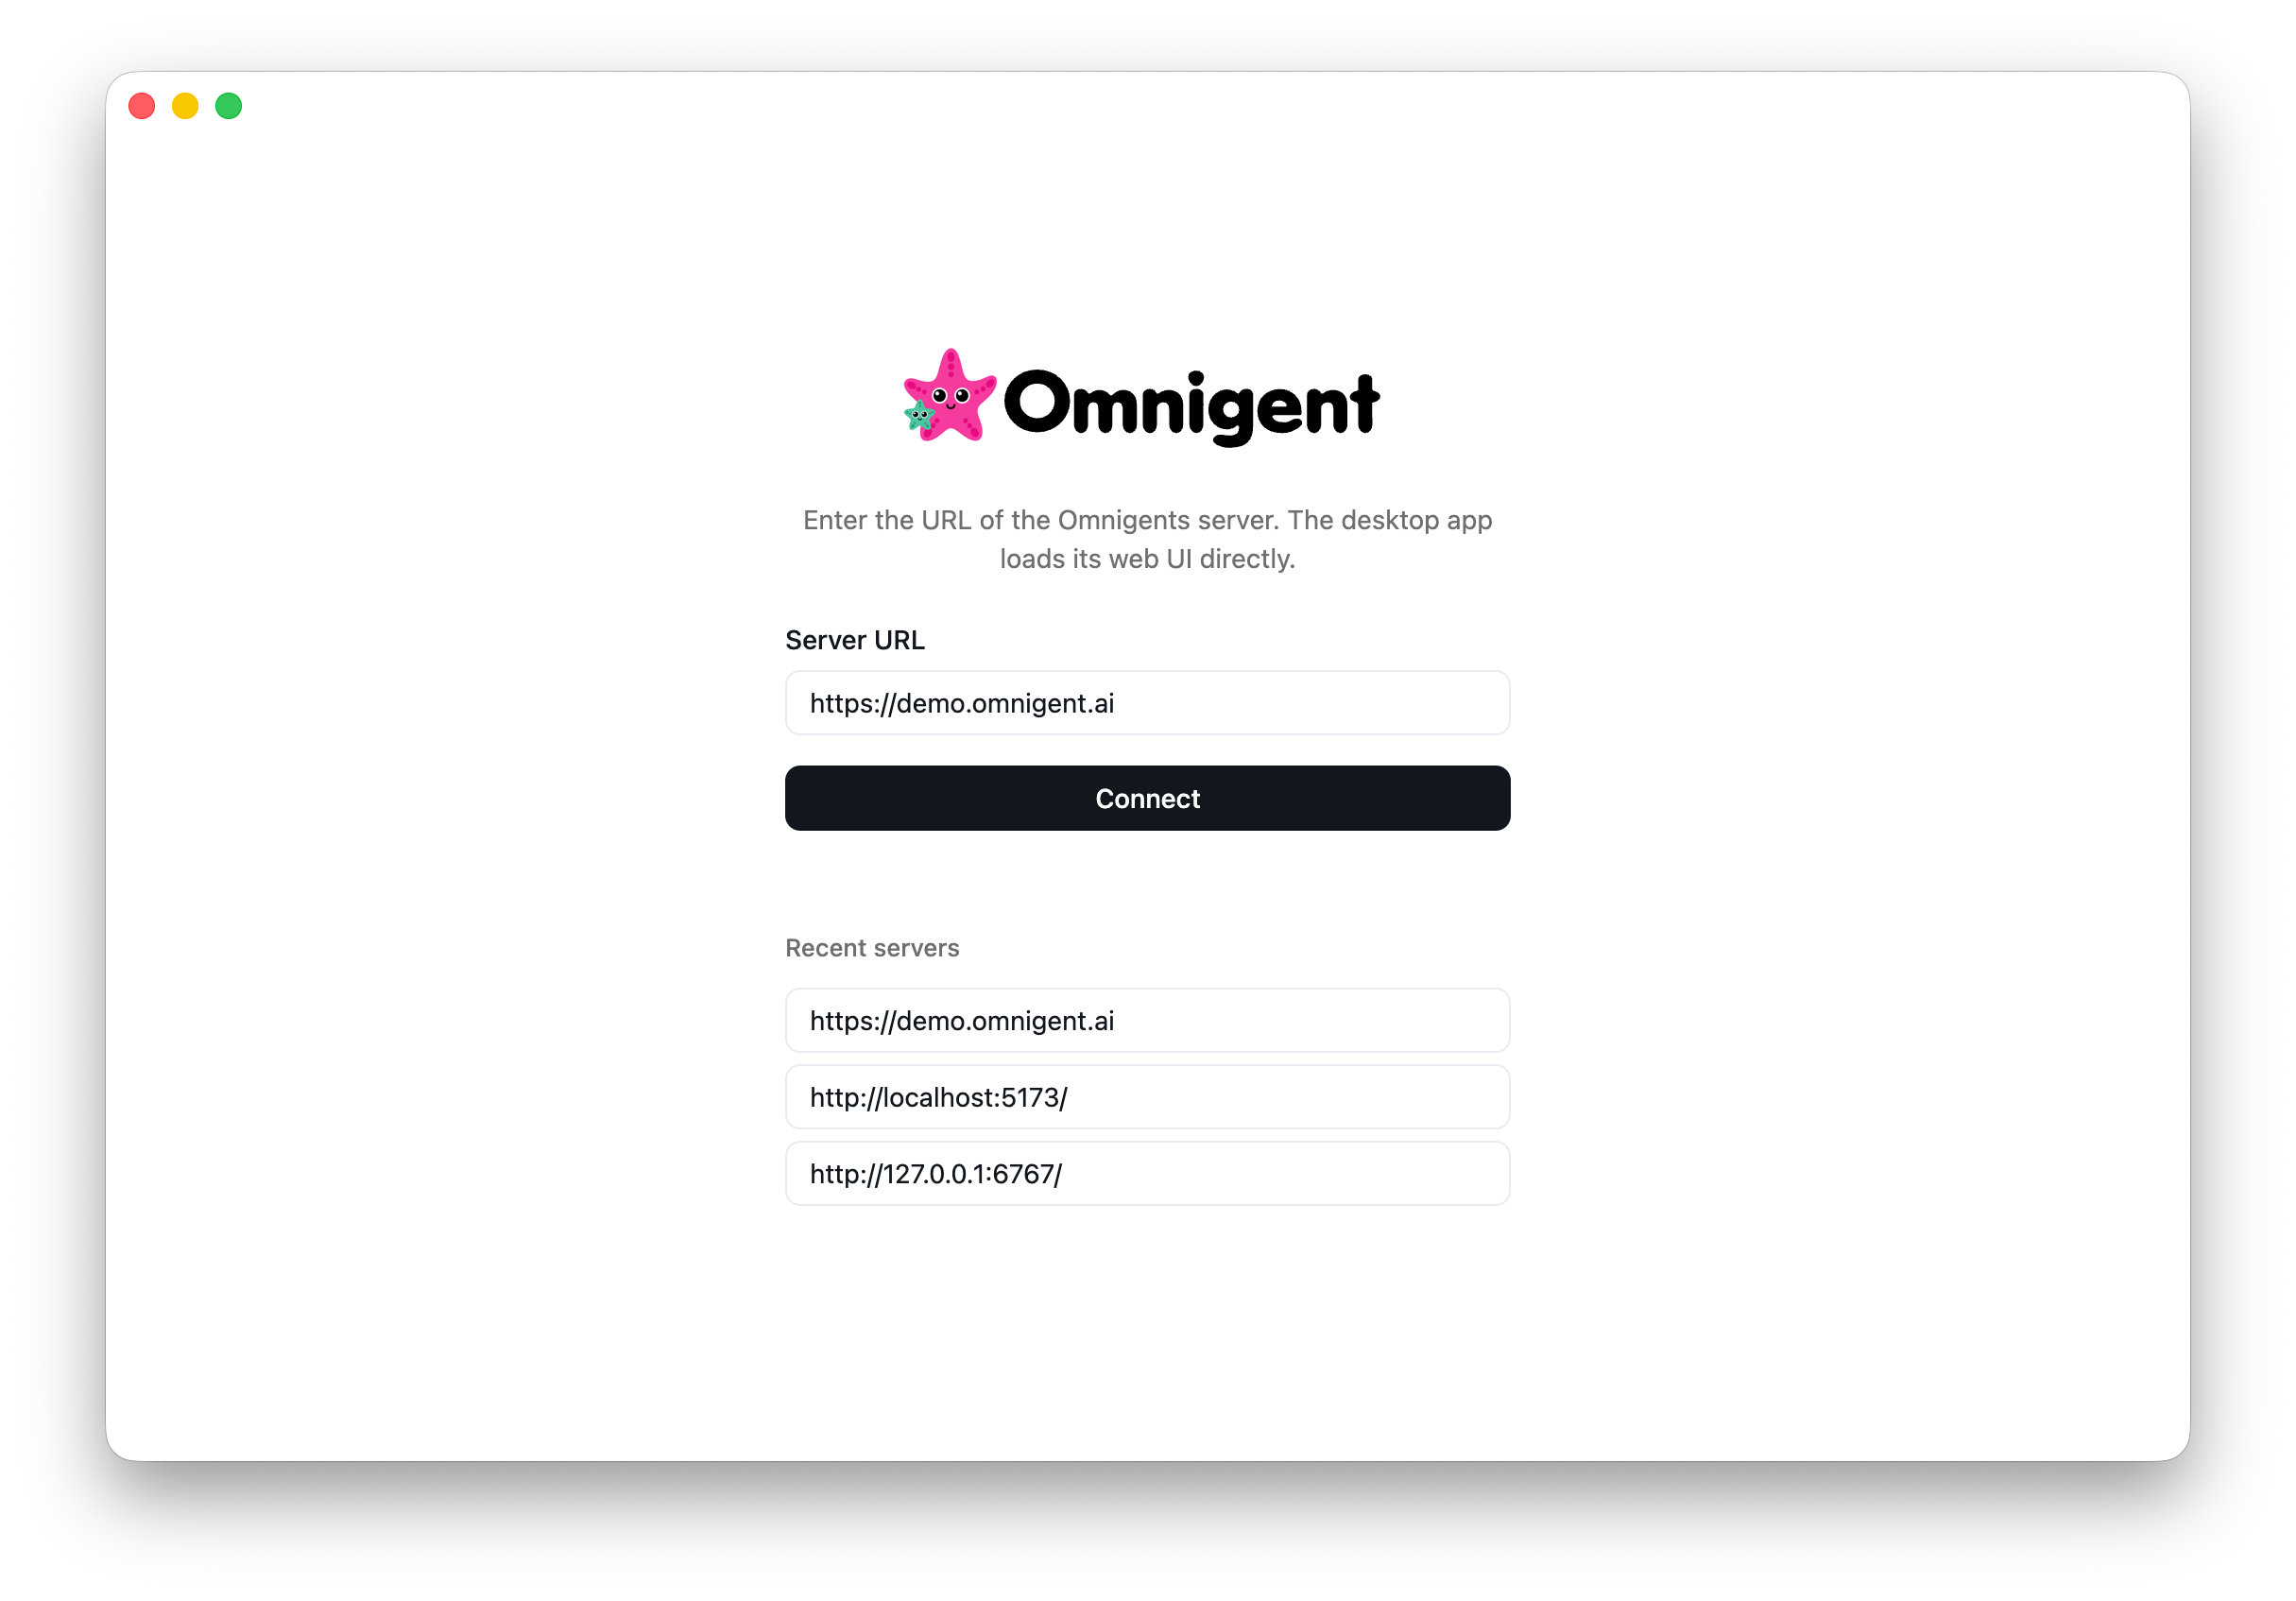
- Launch the app. On first launch, you'll see a setup screen.
- Enter your server URL.
http://localhost:6767if running locally, or your deployed server URL (e.g.https://your-app.onrender.com). - Start working. The app connects and shows the same UI you'd see in a browser.
See the Desktop app reference for all platforms and details.
Upgrade the CLI
Self-upgrade an existing install to the latest release with:
omni upgrade
Add --check to report whether a newer version is available and exit without
changing anything.
Nightly builds
Nightly builds are datestamped prereleases (vX.Y.Z.devYYYYMMDD) cut from the
newest green commit on main around 04:30 UTC each day. They are git tags that
never reach the package index, so you install them straight from GitHub. Use
them to try the latest changes ahead of a tagged release.
Building a nightly compiles the web UI, so it needs git, plus Node.js 22 and pnpm, in addition to the base requirements.
To move an existing install onto the newest nightly:
omni upgrade --nightly
This resolves the newest nightly tag and reinstalls Omnigent pinned to it,
using whichever installer you originally used. It works from any install shape:
a package-index install hops onto the nightly channel, an older nightly moves
forward, and a rerun on the current nightly is a no-op. The following flags
compose with --nightly:
--check— report the newest nightly and exit non-zero if upgrading would change the install, without changing anything.--dry-run— print the command that would run and exit.--extra— keep or add extras (comma-separate to add several).
--pre and --target-version do not apply to --nightly — it always
tracks the newest nightly tag. To install one specific nightly, run your
installer against that tag directly:
uv tool install --force git+https://github.com/omnigent-ai/omnigent@v0.8.0.dev20260801
Because pip and uv pip do not record which extras were requested, a
package-index install made with either cannot preserve extras through
omni upgrade --nightly. In that case Omnigent prints the manual git command
to run instead.
To install or update the nightly on a schedule (for example, from cron), use
the update_nightly.sh helper. It resolves the newest nightly tag, installs it
with uv, and exits fast when you are already current:
0 9 * * * bash /path/to/update_nightly.sh >> "$HOME/.omnigent-nightly.log" 2>&1
Uninstall
omni uninstall removes Omnigent while preserving your data by default. With
no destructive flag, it runs a dry-run preview and prints what it would do
without changing anything:
omni uninstall
To actually remove the CLI and the installer-managed PATH entries, add
--yes. Your local history, credentials, and projects stay in place:
omni uninstall --yes
To also delete Omnigent state under ~/.omnigent, add --purge. Omnigent
archives that state to a backup outside the target (under
~/.omnigent-backups/) and prints a restore command before deleting; pass
--no-backup to skip the archive. Your ~/omnigent workspace is kept unless
you also pass --purge-workspace:
omni uninstall --purge --yes
You can scope the run to one or more targets: cli, state, desktop-data,
or all. Other flags cover less common cases: --dry-run to force a preview,
--json for machine-readable output, --force to stop stubborn processes and
override tamper refusals, and --modify-external-config to allow marker-scoped
edits to third-party config files.
If omni itself won't run (broken wheel, or not on your PATH), use the
standalone uninstall script instead. It takes the same flags, so add --yes
to perform the previewed cleanup:
curl -fsSL https://raw.githubusercontent.com/omnigent-ai/omnigent/main/scripts/uninstall_oss.sh | sh